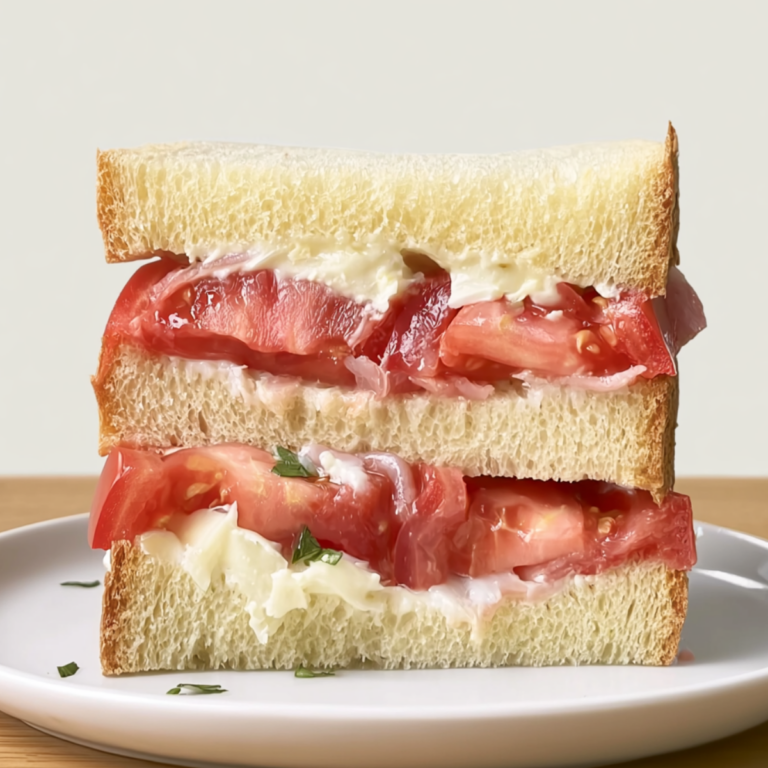
There’s something oddly satisfying about setting down a tray of warm Italian Grinder Sliders in the middle of the table and watching everyone immediately reach for one before you’ve even had a chance to sit down. It happens every single time at my house. The rolls are soft and buttery, the layers of Italian deli meats and melty cheese smell incredible fresh from the oven, and that crisp, tangy grinder-style lettuce tucked inside at the very end? That’s the little detail that somehow steals the show.
I started making these Italian Grinder Sliders for casual backyard get-togethers because they feed a crowd without making me feel like I’m stuck in the kitchen all afternoon. They look impressive, yet the process is wonderfully uncomplicated. One giant sandwich becomes a dozen handheld bites, and somehow they disappear faster than chips. Honestly, I always think I’ve made enough. I never have.
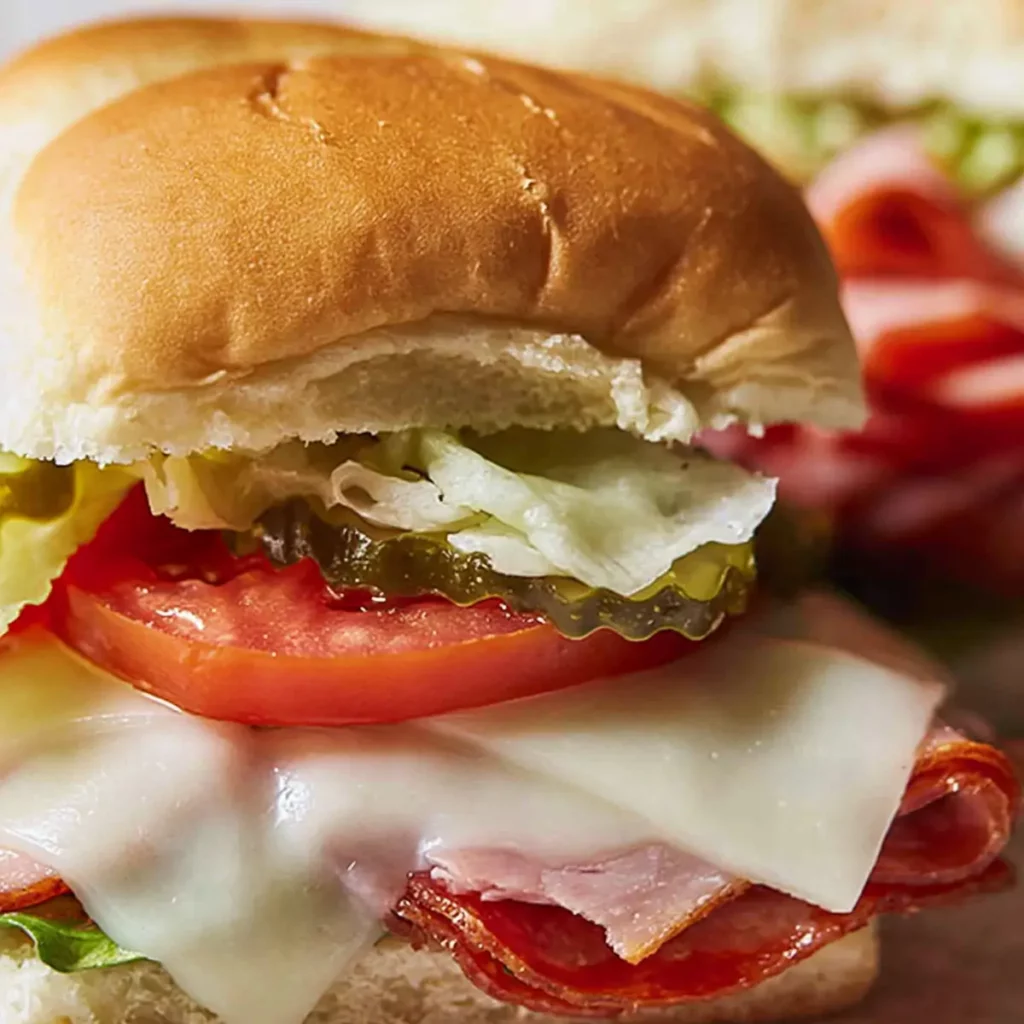
Table of Contents
When Classic Italian Sandwich Flavors Meet Party-Friendly Sliders
The beauty of these sliders is the balance. Rich deli meats meet creamy melted cheese. Crisp vegetables bring freshness. A lightly sweet Hawaiian roll wraps everything together in a way that just works.
Unlike a traditional cold Italian grinder, these sliders are baked until the cheese softens and the bread develops a lightly golden top. Only after they come out of the oven do the fresh toppings go on, creating that familiar contrast between warm fillings and cool, crunchy vegetables.
They’re perfect for:
- Game day spreads
- Summer cookouts
- Family dinners
- Potlucks
- Holiday appetizers
- Weekend lunches when everyone is hungry at once
Every bite tastes layered, vibrant, and just a little messy—the best kind of sandwich experience.
The Ingredients That Make These Italian Grinder Sliders So Good
Great sandwiches don’t need complicated ingredients. They simply need ingredients that complement one another.
- Hawaiian rolls – Their soft texture and subtle sweetness create the perfect base while holding all the fillings together beautifully.
- Turkey breast – Adds lean, mild flavor that balances the richer cured meats.
- Pepperoni – Brings a little spice and plenty of savory character.
- Mortadella – Delivers a silky texture and authentic Italian deli flavor.
- Salami – Offers a bold, peppery bite that gives the sandwich depth.
- Prosciutto – Thin slices add delicate saltiness and richness.
- Pepper jack cheese – Melts beautifully while adding gentle heat.
- Provolone cheese – Classic Italian sandwich cheese with a creamy, mild flavor.
- Butter – Brushed over the rolls before baking for a golden finish.
- White onion – Becomes pleasantly tangy after a quick marinade.
- Red wine vinegar – Gives the onion mixture its signature grinder flavor.
- Dried oregano – Adds an unmistakable Italian herb aroma.
- Shredded lettuce – Brings cool crunch to every bite.
- Olive oil – Lightly coats the lettuce and carries the seasonings.
- Tomato – Fresh, juicy slices brighten the sandwich.
- Pickles – Add a welcome pop of acidity.
- Mayonnaise – Creates a creamy finish on the top bun.
- Dijon mustard – Blends with the mayo for a little zip without overpowering the sandwich.
See the recipe card below for the full list of ingredients and measurements.
Building Layers That Actually Stay Together
One thing I appreciate about these Italian Grinder Sliders is that they’re assembled almost like one oversized sandwich before being sliced into individual portions. It makes everything quicker, and the fillings stay surprisingly neat.
- Begin by heating the oven and preparing a baking dish with cooking spray.
- Slice the connected Hawaiian rolls horizontally, keeping the entire package intact instead of separating the buns.
- Place the bottom half of the rolls into the baking dish.
- Layer the cheeses first. This creates a barrier that helps support the meats and melts into a wonderfully creamy foundation.
- Arrange the turkey, pepperoni, mortadella, salami, and prosciutto evenly across the rolls.
- Set the tops back on and brush them generously with melted butter.
- Bake until the rolls are lightly toasted and the cheese has melted into the layers below.
While the sliders bake, the kitchen starts smelling like an Italian deli crossed with a neighborhood bakery. It’s hard not to sneak a peek through the oven door.
The Grinder Salad Is the Secret Ingredient
Don’t Skip the Marinated Onions
If there’s one component that transforms these from ordinary baked sliders into true Italian Grinder Sliders, it’s the seasoned lettuce mixture.
Thinly sliced white onion gets tossed with red wine vinegar and dried oregano first. Giving the onions a few minutes to sit softens their sharpness while allowing them to absorb that bright, tangy flavor.
It’s a tiny step.
It makes a surprisingly big difference.
Bringing the Lettuce to Life
After the onions have marinated, shredded lettuce is mixed with olive oil before joining the onion mixture.
Instead of tasting like plain lettuce stuffed inside a sandwich, every strand becomes lightly seasoned. It’s crisp without feeling dry, fresh without tasting bland, and somehow manages to brighten every rich layer underneath.
That contrast is what makes every bite interesting.
Finishing the Sandwich Like a Grinder
Once the baked sliders come out of the oven, resist the urge to cut them immediately.
Instead, carefully lift off the top layer of rolls.
Now comes the fun part.
Spread the mayonnaise and Dijon mustard mixture across the inside of the top rolls. Layer the seasoned lettuce mixture over the warm meats, followed by fresh tomato slices and pickle slices.
Finally, replace the tops.
Only then should you slice everything into individual sliders.
It feels backward at first because the vegetables go on after baking, but that’s exactly why they stay crisp and vibrant instead of becoming wilted inside the oven.
The first bite has warm cheese, cool lettuce, juicy tomato, tangy pickles, buttery bread, and savory Italian meats all at once. It’s a little chaotic. In the nicest possible way.
Small Tweaks That Make These Italian Grinder Sliders Your Own
One reason I keep returning to this recipe is how adaptable it is.
If your deli counter doesn’t have every meat listed, don’t stress about it. The combination is flexible while still delivering that classic Italian sandwich experience.
You can easily swap around different deli meats while keeping the overall spirit of the recipe intact. Turkey works wonderfully on its own if that’s what you have available, while ham can easily step into the mix for another delicious variation.
Likewise, different sliced cheeses can be substituted if needed, though a combination of melty cheeses creates the richest texture.
The fresh toppings are worth keeping consistent, though. The marinated onions, shredded lettuce, tomatoes, and pickles create the balance that makes these sliders taste complete.
Serving Ideas That Turn Sliders Into a Full Meal
These Italian Grinder Sliders fit just about any occasion because they’re satisfying without feeling overly heavy.
For a casual lunch, serve them alongside crisp potato chips. The crunch is classic for a reason.
If you’re planning a cookout or picnic, creamy coleslaw pairs beautifully with the tangy sandwich filling. Sweet potato fries are another excellent choice, especially when they’re hot and lightly crisp around the edges.
For parties, arrange the sliders on a large serving board while they’re still slightly warm. Since they’re already portioned, guests can simply grab one—or two. Usually two.
They’re also ideal for family-style dinners where everyone serves themselves. No complicated plating. No fancy presentation required.
Just really good sandwiches.
Making Them Ahead Without Losing Freshness
These sliders truly shine when served shortly after baking because the bread stays soft, the cheese remains perfectly melted, and the lettuce keeps its refreshing crunch.
If you want to prepare ahead, assemble the rolls with the cheeses and meats first, then refrigerate until it’s time to bake. This saves most of the work while keeping everything fresh.
The lettuce mixture can also be prepared in advance. Simply store it in the refrigerator separately, allowing the onions to marinate before combining them with the shredded lettuce and olive oil. Wait until the baked sliders are ready before adding the fresh toppings.
That final assembly only takes a minute or two, but it preserves the texture that makes these Italian Grinder Sliders stand out.
Some recipes taste perfectly fine after sitting around for a while.
These? They’re at their happiest when they’re warm, freshly sliced, and piled high with that crisp grinder salad. The bread is soft enough to pull apart with almost no effort, the melted cheese stretches just a little, and the combination of herbs, vinegar, cured meats, and fresh vegetables somehow tastes even brighter than you expected. It’s comfort food with just enough zing to keep every bite exciting.
Conclusion
Fresh from the oven with cool, crisp toppings tucked inside, these Italian Grinder Sliders always feel like the kind of meal that brings everyone back to the table for seconds. The buttery rolls, melty cheese, and tangy grinder salad create that perfect mix of cozy and refreshing in every bite. They’re wonderfully simple, a little messy, and completely worth it. Serve them with a handful of chips or your favorite picnic sides, and enjoy them while they’re still warm.
FAQs about Italian Grinder Sliders
Can I make Italian Grinder Sliders ahead of time?
Yes. Assemble the rolls with the meats and cheeses, then cover and refrigerate until you’re ready to bake. Prepare the seasoned lettuce mixture separately and add it only after baking so the vegetables stay crisp and fresh.
How do I store leftover Italian Grinder Sliders?
These sliders are best enjoyed right after they’re assembled. If you have leftovers, refrigerate them in an airtight container for up to two days. Keep in mind that the lettuce and tomatoes may soften over time, so the texture won’t be quite the same
Can I substitute the deli meats or cheeses?
Absolutely. This recipe is flexible, and many combinations work well. Turkey, ham, or additional salami can replace some of the traditional Italian meats, and you can swap in your favorite melting cheese while keeping the overall flavor balanced.
Can I freeze these sliders?
It’s best to freeze only the baked sliders with the bread, meat, and cheese if needed. Leave off the lettuce, tomatoes, pickles, and sauce until serving day. Thaw overnight in the refrigerator, warm them in the oven, then finish with the fresh toppings for the best texture.
More Relevant Recipes
- Italian Grinder Pasta Salad: If you love the bold deli meats, crisp vegetables, tangy dressing, and classic Italian-inspired flavors of Italian Grinder Sliders, this pasta salad delivers the same delicious profile in a chilled, picnic-friendly dish. It’s an excellent choice for potlucks, barbecues, or as a hearty side alongside sandwiches.
- Italian Chopped Salad: Packed with fresh vegetables and vibrant Italian flavors, this chopped salad offers the same refreshing contrast that makes the seasoned lettuce topping in Italian Grinder Sliders so irresistible. It’s a crisp, flavorful companion for sandwiches or a light meal on its own.
- Cheesy Garlic Bread: Warm, buttery, and loaded with melted cheese, this garlic bread shares the same comforting baked appeal as Italian Grinder Sliders. Its rich, savory flavor pairs perfectly with Italian-inspired meals and makes an easy addition to any casual dinner or party spread.
Italian Grinder Sliders

These Italian Grinder Sliders combine layers of savory deli meats, melted cheeses, crisp seasoned lettuce, and soft Hawaiian rolls for an easy crowd-pleasing sandwich that’s perfect for gatherings or family meals.
- Prep Time: 20 minutes
- Cook Time: 15 minutes
- Total Time: 35 minutes
- Yield: 12 servings 1x
- Category: Lunch
- Method: Oven
Ingredients
- 12-count Hawaiian rolls
- 7 oz. sliced turkey breast
- 2 oz. sliced pepperoni
- 4 oz. sliced mortadella
- 3 oz. sliced salami
- 2 oz. sliced prosciutto
- 6 slices pepper jack cheese
- 6 slices provolone cheese
- 1 tablespoon unsalted butter, melted
- 1/4 white onion, thinly sliced
- 2 tablespoons red wine vinegar
- 1 teaspoon dried oregano
- 4 oz. shredded lettuce
- 2 tablespoons olive oil
- 1 large tomato, sliced
- 6 pickle slices
- 3 tablespoons mayonnaise
- 1 tablespoon Dijon mustard
Instructions
- Heat the oven to 350℉ and lightly coat a 9×13-inch baking dish with cooking spray.
- Without separating the rolls, slice the entire package horizontally and place the bottom half in the prepared baking dish.
- Arrange the pepper jack and provolone over the bread, then evenly layer the turkey, pepperoni, mortadella, salami, and prosciutto.
- Place the top half of the rolls over the fillings and brush the surface with the melted butter.
- Bake for 15 minutes, or until the cheese has melted and the tops are lightly golden.
- Meanwhile, combine the sliced onion, red wine vinegar, and dried oregano in a large bowl. Let the onions rest for 5 minutes.
- Add the shredded lettuce and olive oil to the onion mixture and toss until evenly coated.
- In a small bowl, stir together the mayonnaise and Dijon mustard until smooth.
- Remove the baked sliders from the oven and transfer them to a cutting board. Carefully lift off the top layer of rolls.
- Spread the mayonnaise mixture inside the top rolls. Top the meats with the seasoned lettuce, tomato slices, and pickle slices.
- Replace the top layer of rolls, slice into 12 sliders, and serve immediately.
Notes
- Feel free to swap the deli meats and cheeses for your favorite combinations while keeping the same overall quantities.
- Baking the sandwiches creates the classic warm grinder texture with perfectly melted cheese.
- For the freshest texture, add the lettuce, tomatoes, and pickles only after the sliders come out of the oven.
Nutrition
- Serving Size: 1 slider
- Calories: 339
- Sugar: 5 g
- Fat: 23 g
- Carbohydrates: 17 g
- Fiber: 0.4 g
- Protein: 15 g
Keywords: Italian Grinder Sliders, Hawaiian rolls, Italian sandwich, slider recipe, party sandwiches, deli meat sliders, baked sliders, pepper jack cheese, provolone cheese, grinder sandwich